
Overview of Adobe Premiere Pro
Introduction to Adobe Premiere Pro software
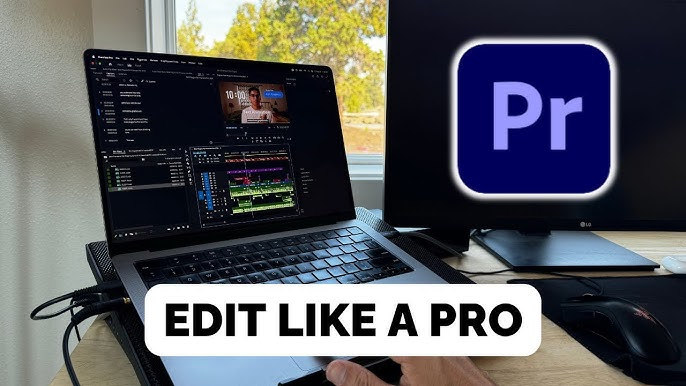
Adobe Premiere Pro is a powerhouse in the realm of video editing, catering to both professionals and aspiring creators. Renowned for its versatility and user-friendly interface, Premiere Pro allows users to blend creativity with technical prowess effortlessly. Many creators, including hobbyists and industry veterans, have turned to this software to bring their visual stories to life.
Key features and capabilities of Adobe Premiere Pro
What makes Adobe Premiere Pro stand out? Here are some of its top features:
- Multi-format Support: Import and edit a diverse range of file types.
- Advanced Editing Tools: Utilize timeline editing, trimming, and effects integration.
- Real-time Collaboration: Share projects effortlessly with team members via cloud technology.
- Rich Audio Editing: Enhance audio tracks with built-in sound tools.
- Color Correction and Grading: Fine-tune your videos to achieve the perfect aesthetic.
These features, combined with a supportive community, make Adobe Premiere Pro an essential asset for anyone looking to take their videos to the next level.
Getting Started with Adobe Premiere Pro
Setting up a new project in Adobe Premiere Pro
Getting started with Adobe Premiere Pro is exciting! To set up a new project, follow these simple steps:
- Open the Software: Launch Premiere Pro and select “New Project.”
- Project Name: Enter a memorable name for easy identification.
- Location: Choose where you want to save your project files.
- Settings: Adjust settings like resolution and frame rate based on your project needs.
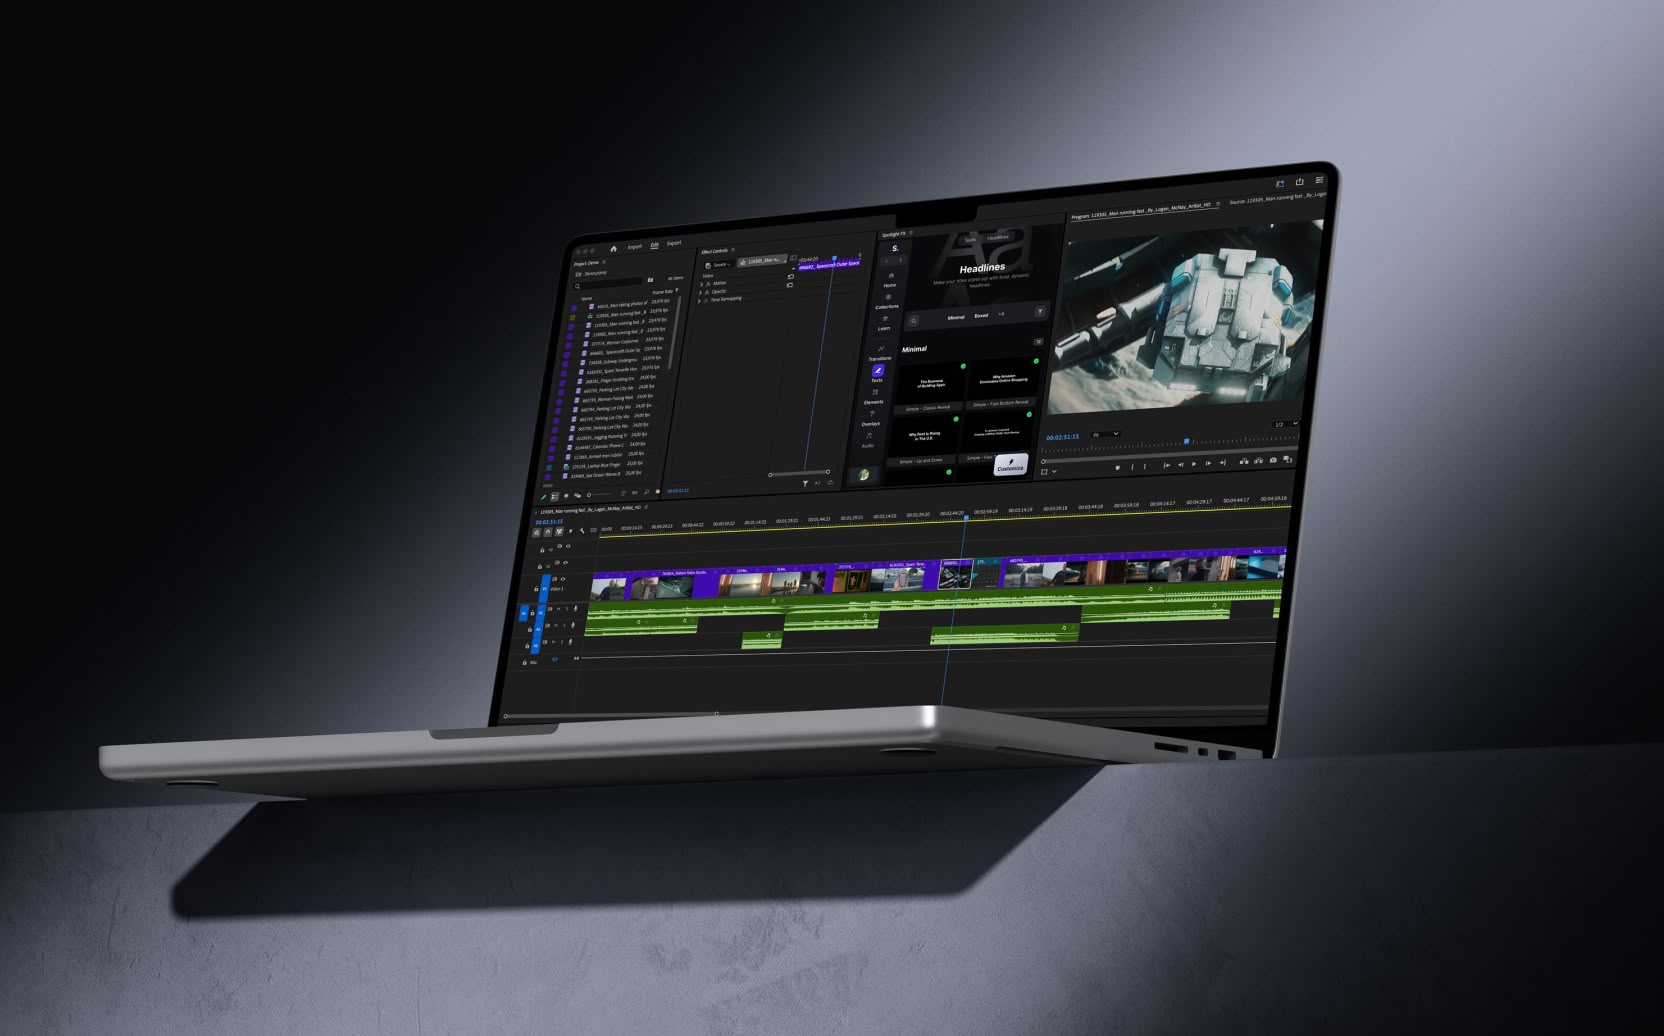
Understanding the interface and workspace layout
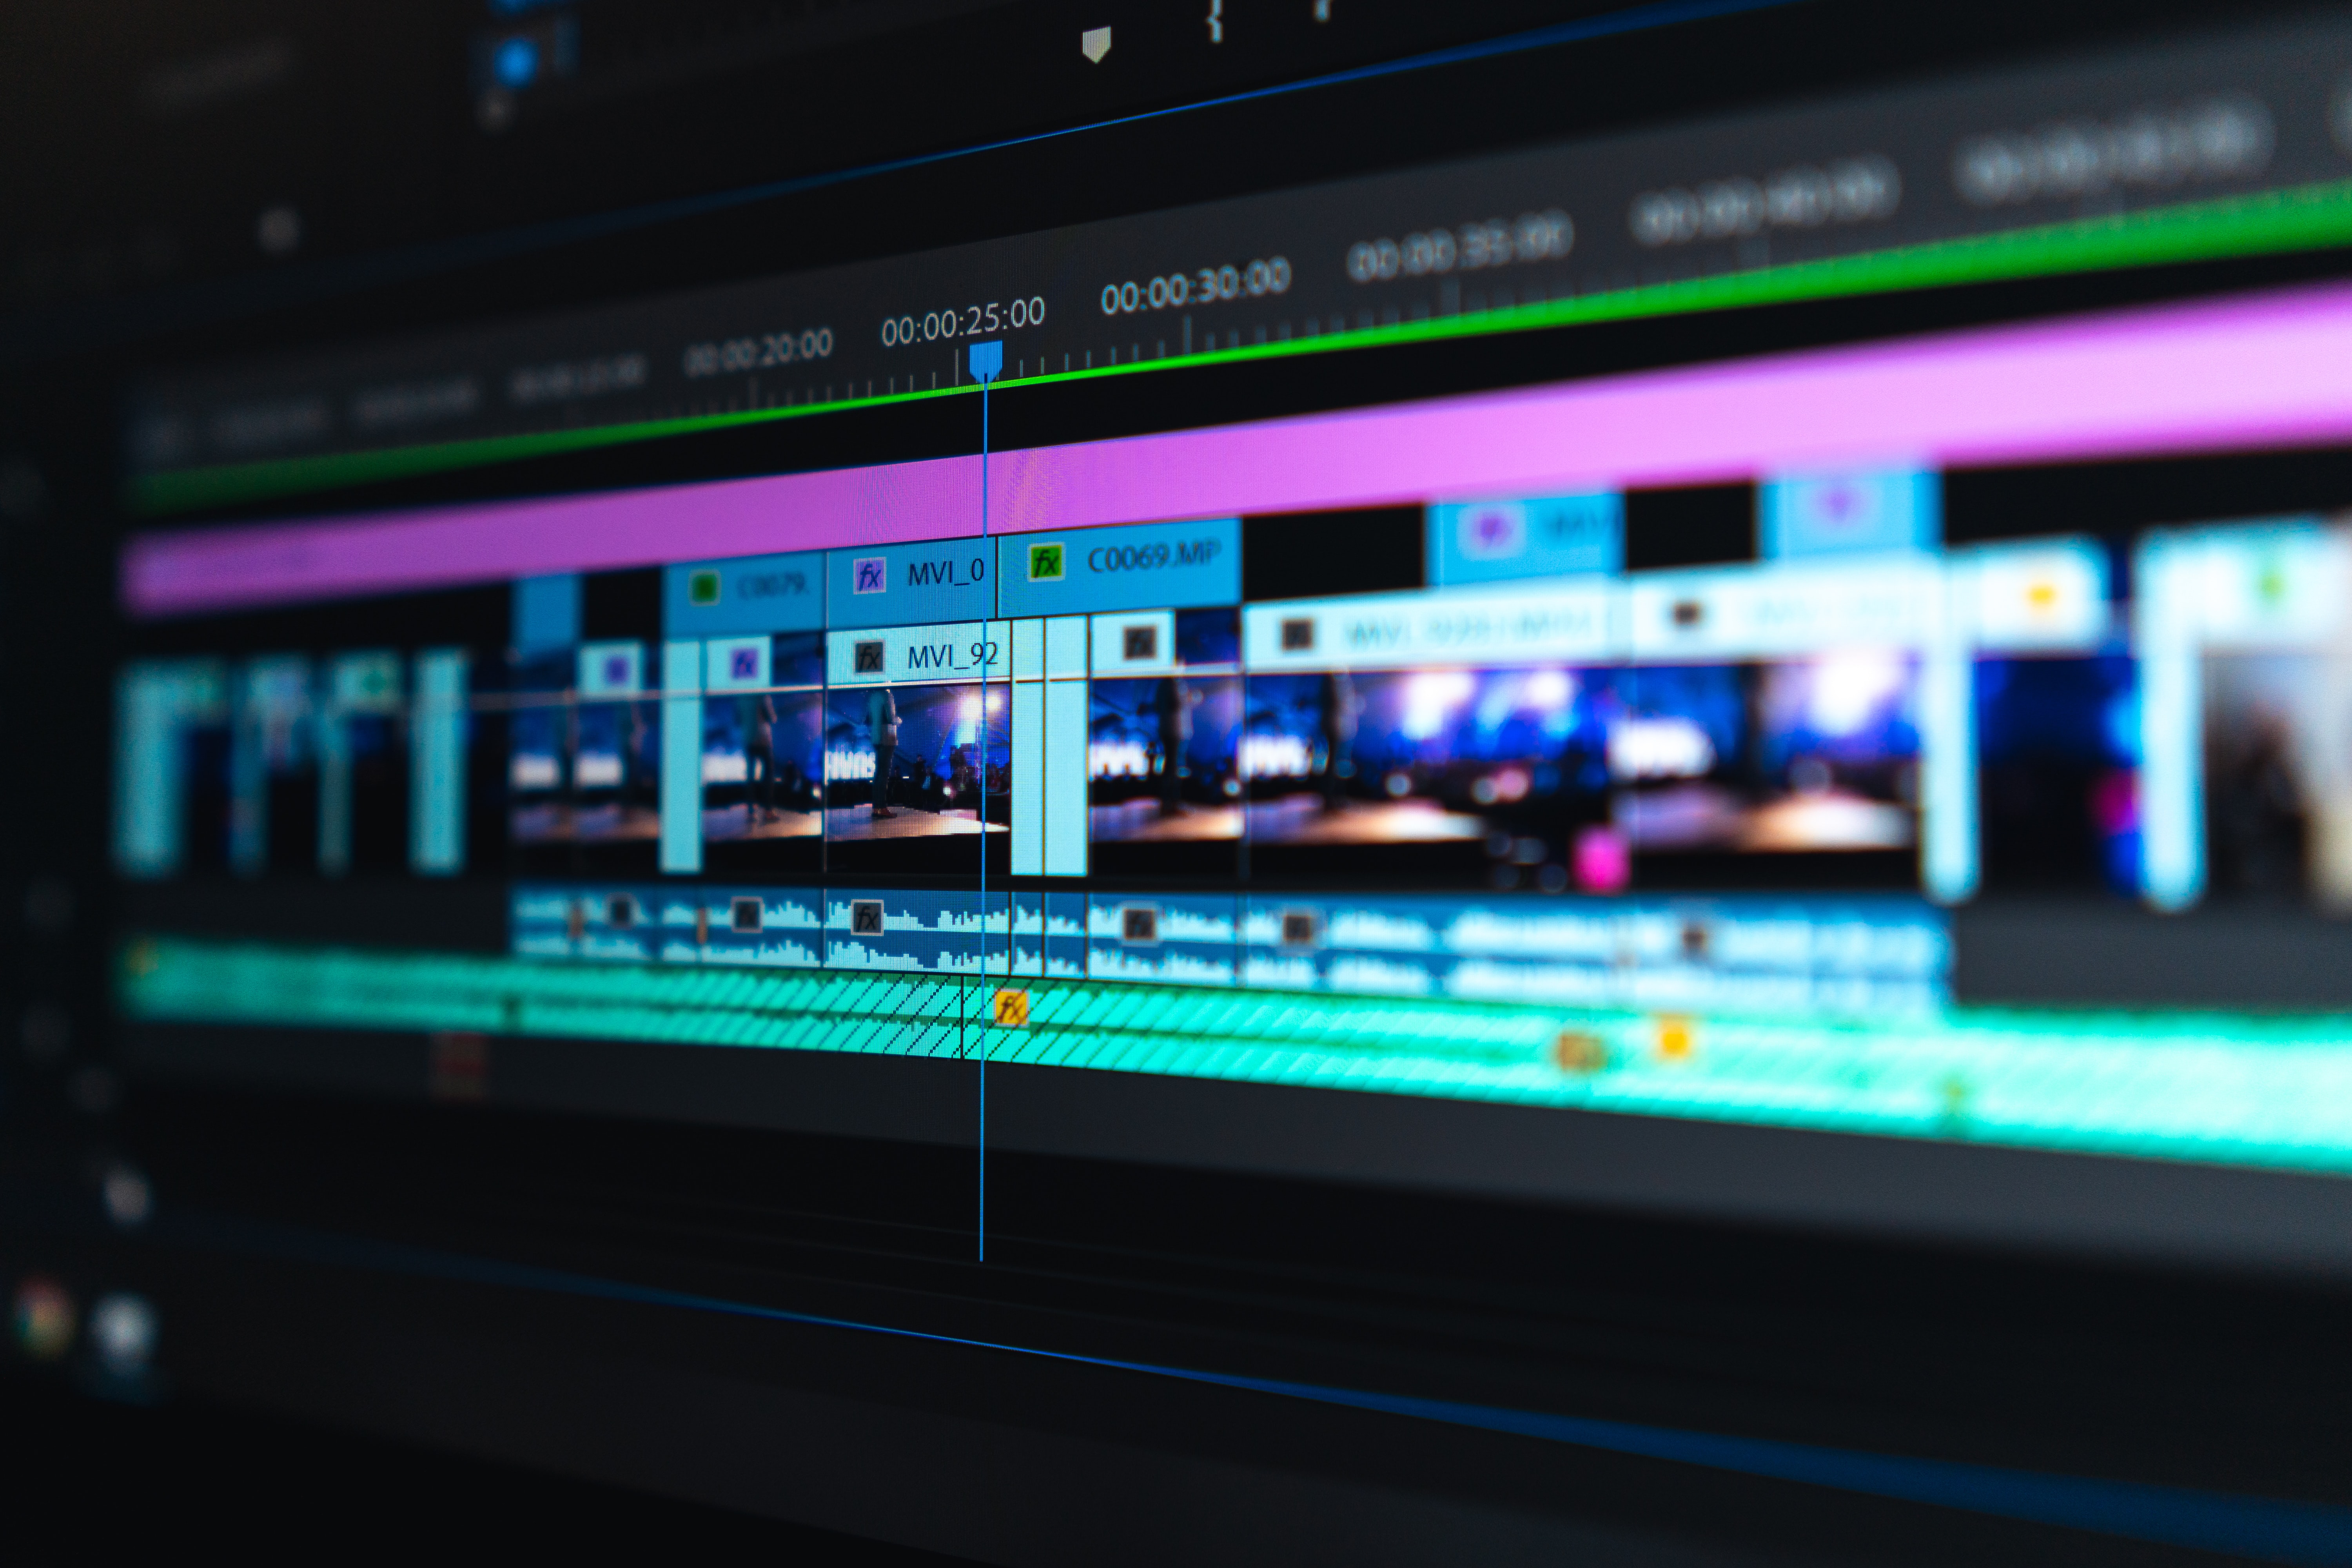
Once your project is set, familiarize yourself with the vibrant interface. You’ll notice several key panels:
- Timeline: This is where the magic happens—arranging and editing your clips.
- Program Monitor: Preview your edits in real-time.
- Project Panel: Organize your media files and assets.
- Effects Panel: Access transitions and effects to enhance your video.
Navigating Premiere Pro is a breeze once you get the hang of it, and soon enough, you’ll feel right at home editing your own videos!
Editing Techniques and Tools in Adobe Premiere Pro
Basic editing tools and functions
Diving into editing with Adobe Premiere Pro is a fun adventure! To get started, familiarize yourself with these essential tools:
- Selection Tool: Move clips around the timeline for precise placements.
- Razor Tool: Cut clips at specific points for perfect timing.
- Track Select Tool: Shift all tracks to maintain alignment.
- Lifting and Extracting: Remove sections while keeping gaps clean.
Advanced editing techniques for enhancing videos
Once you’re comfortable with the basics, elevate your editing skills:
- Nested Sequences: Combine multiple clips into one for easier manipulation.
- Keyframing: Create dynamic effects by adjusting properties over time.
- Masking: Isolate areas of your video for targeted effects.
These techniques can unlock even more creative potential. With practice, your videos will truly shine!
Enhancing Your Videos with Effects and Transitions
Adding visual effects to your videos
Once you’re comfortable with the editing tools, it’s time to enhance your videos with visual effects! Adobe Premiere Pro offers a treasure trove of options to make your content pop:
- Green Screen Effects: Transform backgrounds to create immersive settings.
- Color Effects: Use filters to set the mood—warm tones for cozy vibes or cool shades for a dramatic touch.
- Motion Effects: Add zooms or pans to emphasize key moments.
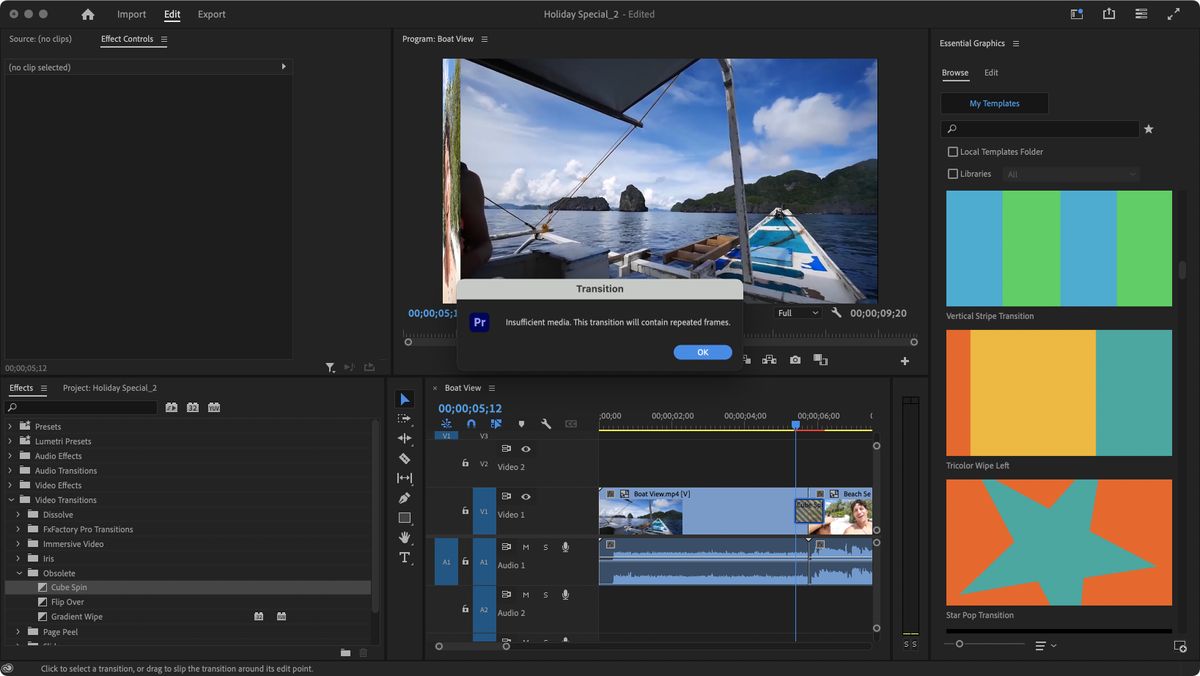
Incorporating transitions for smooth video flow
Transitions can elevate your storytelling by creating seamless shifts between clips. Here’s how:
- Cross Dissolve: A classic transition that gently fades one clip into another.
- Wipe: Sweep from one scene to the next for a dynamic effect.
- Slide: Give the impression of movement, ideal for action-packed sequences.
Experimenting with these effects and transitions will give your videos a professional edge and keep your audience engaged!
Audio Editing and Sound Design in Adobe Premiere Pro
Working with audio tracks and levels
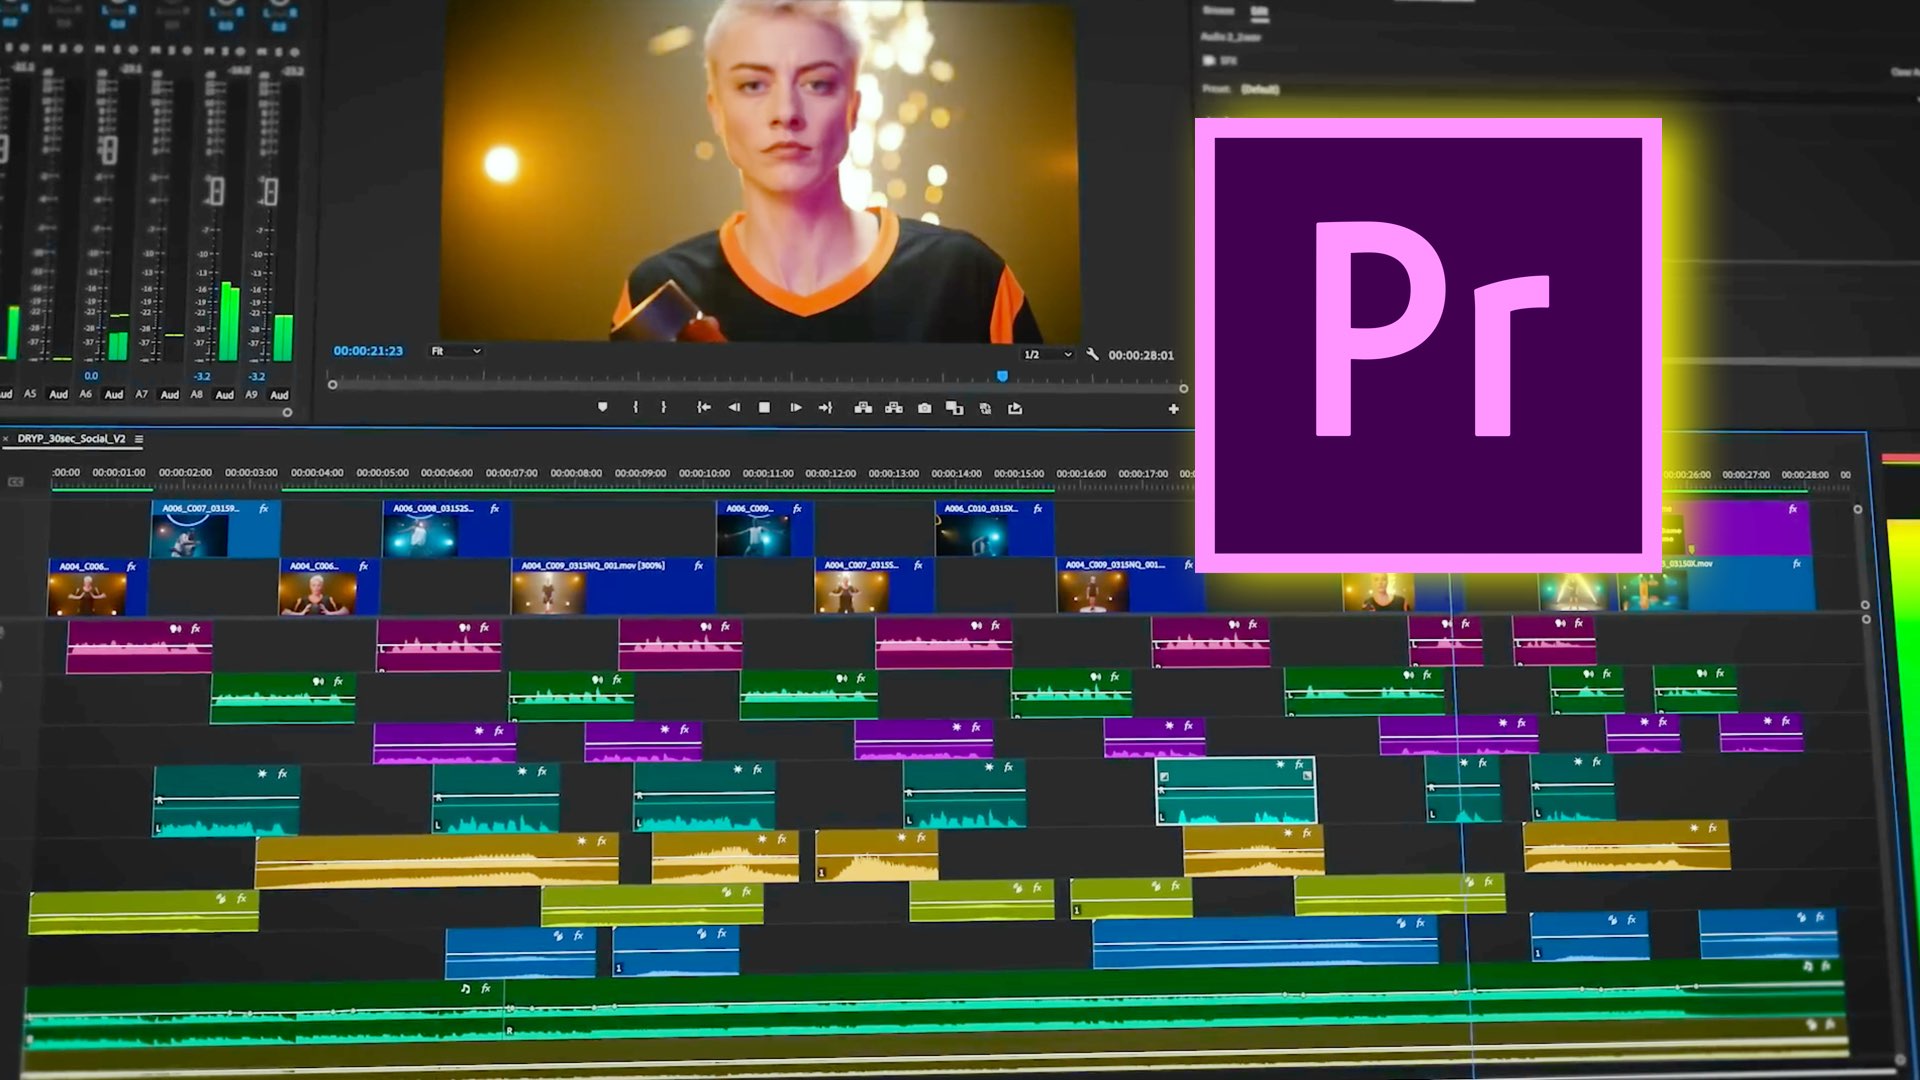
Sound is just as crucial as visuals, and Adobe Premiere Pro makes audio editing a breeze! When working with audio tracks, consider these tips:
- Track Organization: Keep music, dialogue, and effects on separate tracks for easier management.
- Adjusting Sound Levels: Use the audio mixer to balance levels; avoid having clips too loud or too quiet.
- Fade In/Out: Gradually introduce or finish audio clips for a polished feel.
Enhancing audio quality and adding sound effects
To elevate your video’s audio experience, enhancing quality is essential. Here’s how:
- Noise Reduction: Use the “DeNoiser” effect to filter out unwanted background sounds.
- Sound Effects Library: Add drama or humor with sound effects; Adobe Premiere offers a range of built-in options.
- Custom Sound Design: Record your own effects for a unique touch.
With thoughtful audio editing and sound design, your videos will feel more immersive and engaging!

Color Correction and Grading in Adobe Premiere Pro
Adjusting color levels and tones
After perfecting your audio, it’s time to elevate your visuals with color correction in Adobe Premiere Pro! Start by adjusting color levels:
- Basic Color Correction: Use the Lumetri Color panel to tweak exposure, contrast, and highlights.
- White Balance: Correct color temperature for natural skin tones and an overall balanced look.
- Color Wheels: Fine-tune shadows, midtones, and highlights for a more dynamic range.
Applying color grading for a cinematic look
Once your colors are corrected, it’s time for color grading to achieve that cinematic flair:
- LUTs (Look-Up Tables): Apply pre-set LUTs for quick color themes; they can transform your footage instantly.
- Creative Adjustments: Explore tinting techniques or split-toning to give your videos a unique mood.
- Consistency: Ensure that all clips share a color palette for a cohesive aesthetic.
With these techniques, your videos will not only be visually striking but also resonate with viewers on an emotional level!

Exporting and Sharing Your Videos
Exporting videos in different formats
Now that your video is polished and ready, it’s time to export and share it with the world! Adobe Premiere Pro offers various export formats to suit your needs:
- H.264: Perfect for web videos with a great balance between quality and file size.
- QuickTime: Ideal for high-quality archives or professional uses.
- 1080p Export: Ensure your videos are broadcast-ready for a crisp, clear look.
Publishing videos on various platforms
After exporting, sharing your creation is the final step:
- YouTube: Easy uploading and provides exposure to a vast audience.
- Social Media: Tailor edits for platforms like Instagram or TikTok for optimal impact.
- Website Embeds: Showcase your work on your personal or company website to attract viewers.
By exporting correctly and choosing the right platforms, you’ll maximize your video’s reach and effectiveness!
Advanced Tips and Tricks for Adobe Premiere Pro
Time-saving shortcuts and workflow tips
Once you’ve mastered the basics, optimizing your workflow can save significant time! Here are some handy shortcuts:
- Ripple Edit Tool (B): Quickly adjust clips while maintaining the timeline’s integrity.
- Toggle Audio Track Mixer (Shift + 9): Instantly access audio controls without digging through menus.
- Mark In/Out (I/O): Easily select key sections of your clips.
Utilizing plugins and additional resources
Plugins can further enhance your editing experience. Some favorites include:
- Red Giant Universe: A suite of effects and transitions that add flair.
- FilmImpact: Exceptional transitions that give your video a professional touch.
- Online Tutorials: Websites like TECHFACK or community forums provide ongoing education and tips.
With these advanced tips, you’ll streamline your editing process and boost creativity in Adobe Premiere Pro!
Troubleshooting and FAQs
Common issues and how to resolve them
Even seasoned editors face hiccups while using Adobe Premiere Pro. Here are some common issues and quick fixes:
- Lagging Playback: Reduce playback resolution to improve performance while editing.
- Media Offline Error: Relink missing files through the “Link Media” option in the project panel.
- Crashing Issues: Update your software regularly and clear cache files for smoother operation.
Frequently asked questions about Adobe Premiere Pro
Curious about common queries? Here are a few FAQs:
- Can I use Premiere Pro on a laptop? Yes, but ensure it meets the minimum system requirements for optimal performance.
- What formats does Premiere Pro support? It supports a wide range, including MP4, MOV, and AVI.
By addressing these troubleshooting tips and FAQs, you’ll further enhance your editing experience with Adobe Premiere Pro!
