

DaVinci Resolve: Video Editing Software with Advanced Color Correction Capabilities
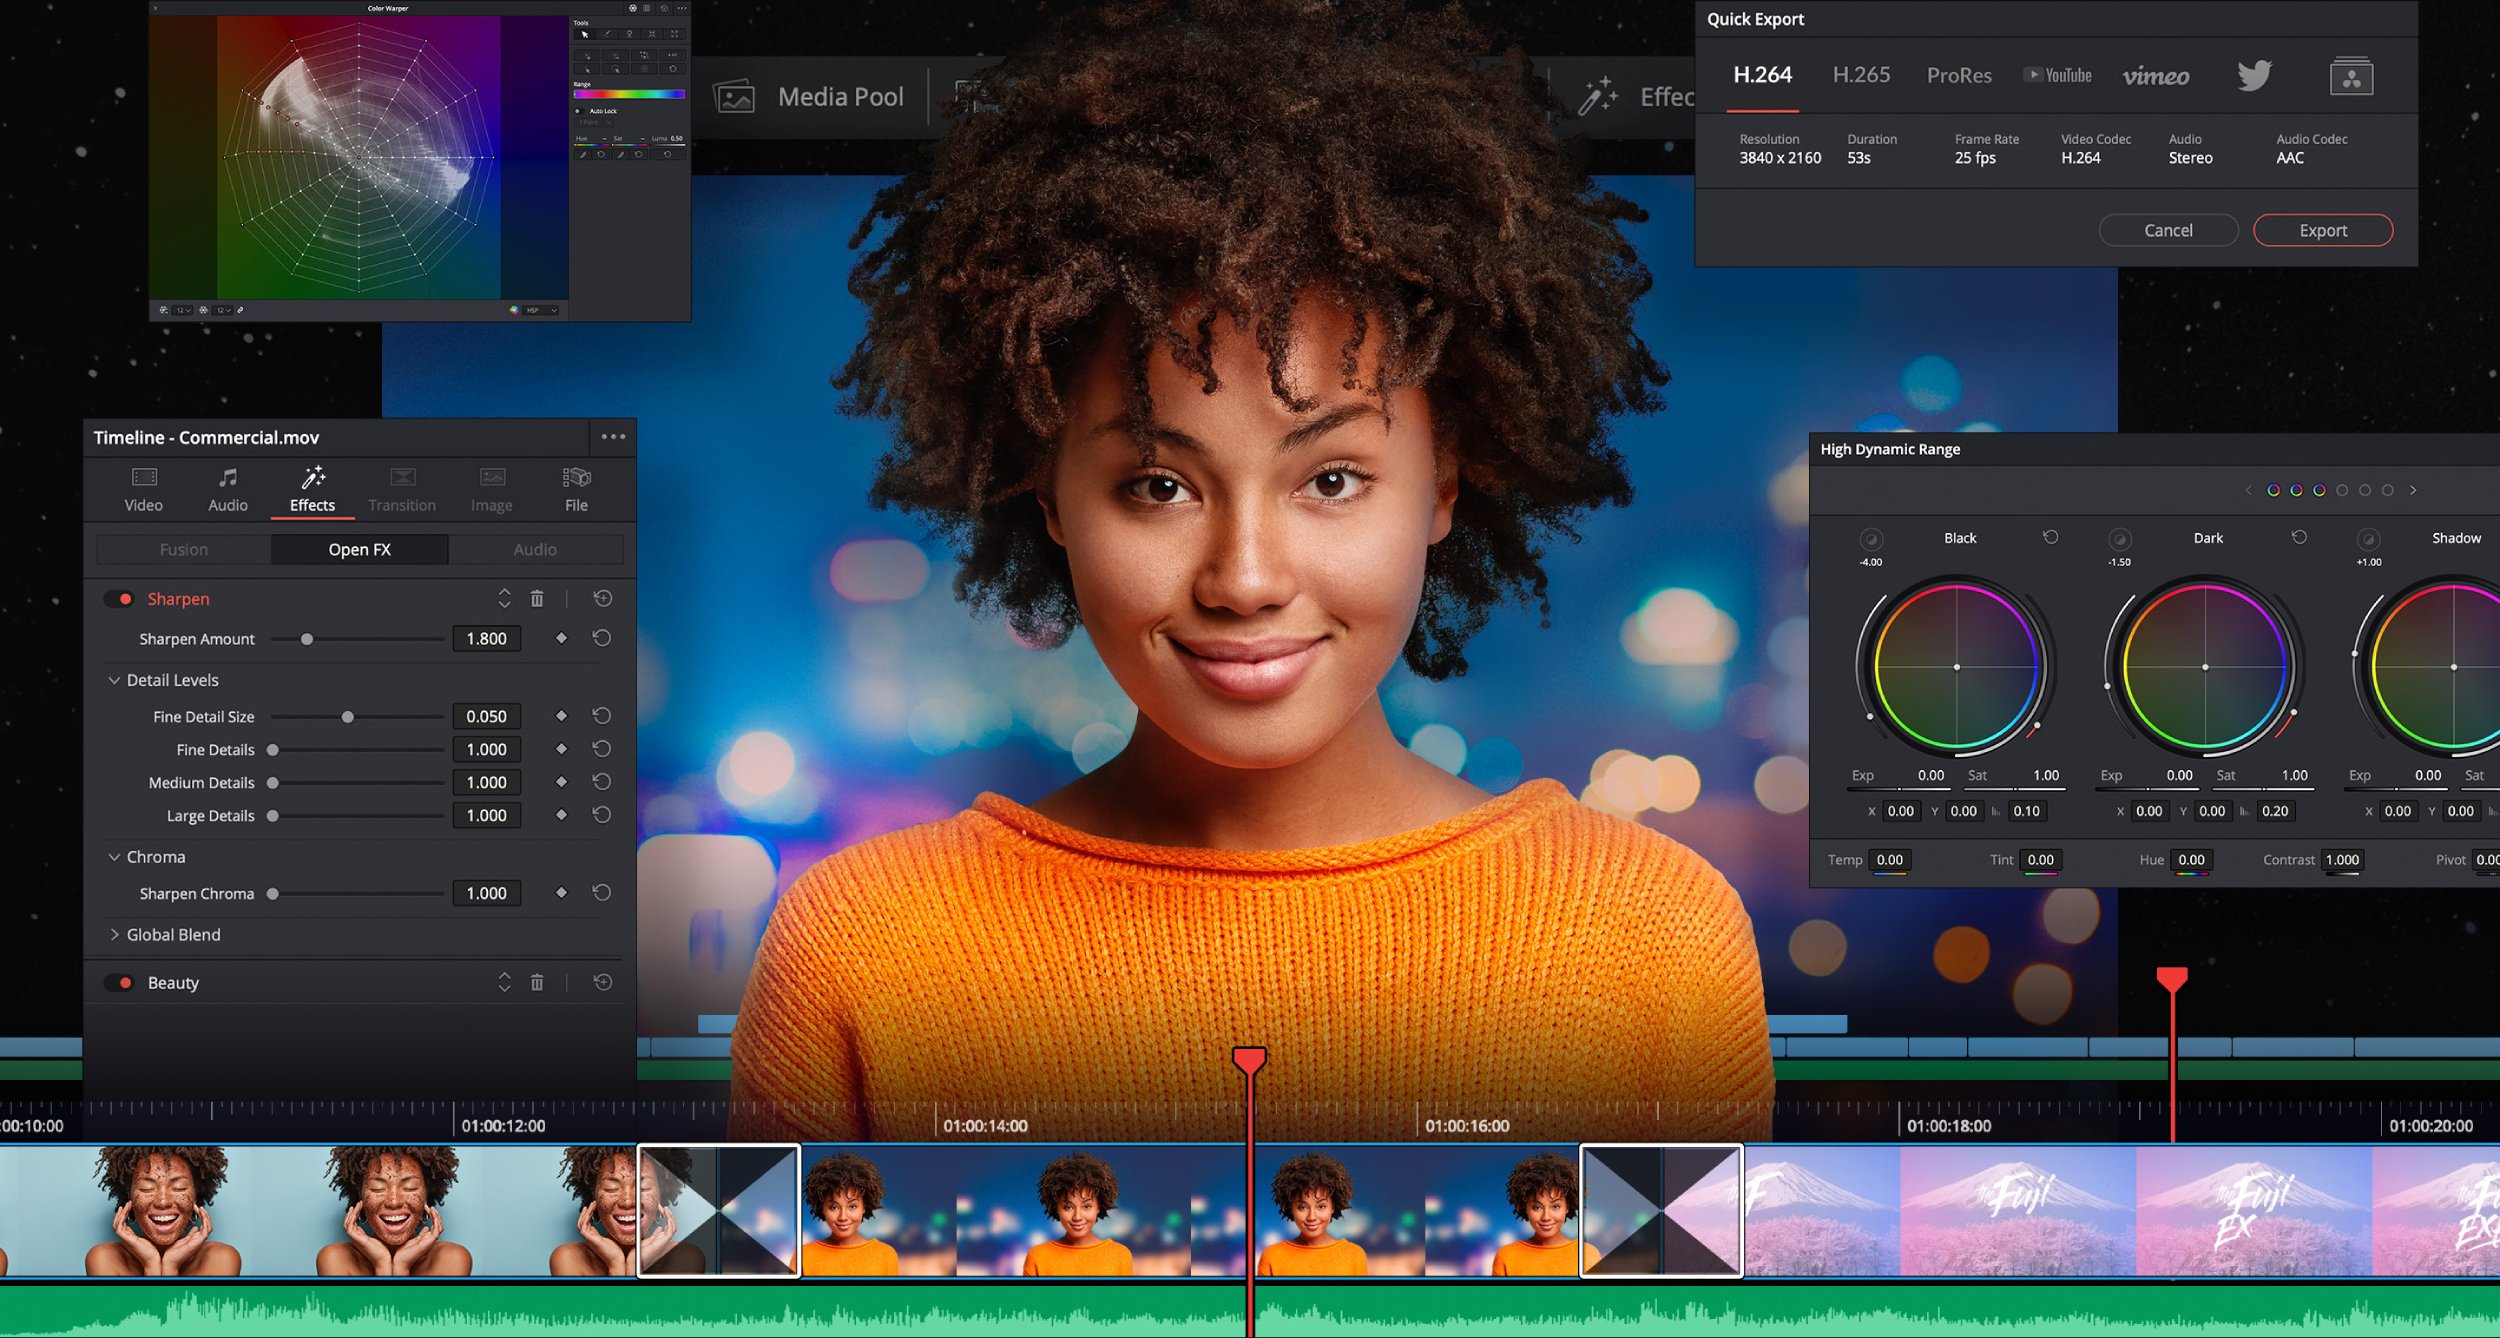
DaVinci Resolve stands out in the crowded field of video editing software due to its exceptional and advanced color correction capabilities. More than just a video editing tool, it offers a unique blend of functionalities that cater to both novice and professional editors.
With personal experience, I recall the first time I experimented with its color grading features. The ability to manipulate colors with precision was unlike anything I’d encountered before. Using DaVinci Resolve felt like painting a masterpiece. Here’s a quick look at its standout color correction features:
- Color Wheels: Control shadows, midtones, and highlights to enhance your footage.
- Curves: Create custom color enhancements with intuitive curve adjustments.
- LUT Support: Apply Lookup Tables (LUTs) for instant cinematic looks.
These tools not only streamline the editing process but also empower creators to realize their artistic vision effectively. Embracing DaVinci Resolve transforms editing from a mere task to a rich creative journey, making it a go-to choice for many.

DaVinci Resolve: Video Editing Software with Advanced Color Correction Capabilities
Building on its reputation, DaVinci Resolve is increasingly recognized as a leading choice for those seeking video editing software with advanced color correction capabilities. The integration of these features not only elevates the storytelling aspect of video but also allows filmmakers to craft a unique visual style.
In my own editing projects, I’ve seen how a simple tweak in color can dramatically change the mood of a scene. Consider some key elements that make DaVinci Resolve a front-runner in color correction:
- Comprehensive Color Grading Tools: From basic adjustments to intricate color wheels and curves, the software provides depth and precision.
- Node-Based Workflow: This allows for a non-linear approach to color grading, giving editors greater flexibility.
- Powerful Scopes: Analyze color data easily with professional-grade scopes, ensuring balanced and accurate colors.
These features, combined with a user-friendly interface, invite users to explore their creative limits, transforming raw footage into stunning visuals with just a few clicks.
Overview of DaVinci Resolve
Introduction to DaVinci Resolve Software
DaVinci Resolve has become a go-to solution for video editors across different skill levels, thanks to its comprehensive suite of tools. Whether you’re crafting short films, YouTube videos, or feature-length movies, this software provides everything needed to produce professional-grade content. The platform seamlessly integrates both video editing and advanced color correction capabilities, making it an essential tool for creators.
From my personal experience, using DaVinci Resolve has transformed the way I approach video editing. The intuitive interface allows even beginners to dive in, while advanced users can find powerful features to enhance their workflow.
Brief History and Development of DaVinci Resolve
DaVinci Resolve was originally developed as a color grading application in the late 1980s, primarily for high-end film productions. Its evolution began when Blackmagic Design acquired the software in 2009, revitalizing it by integrating editing features. Key milestones in its development include:
- 2012: Introduction of editing capabilities with version 9.
- 2016: Free version launched, allowing wider access.
- 2020: Version 17 introduced advanced color grading and audio post-production tools.
This rich history not only showcases its growth but also its commitment to delivering powerful solutions for today’s filmmakers and content creators.
Features of DaVinci Resolve
Video Editing Tools and Functionalities
Transitioning from the robust history of DaVinci Resolve, its features now come to the forefront, offering users a versatile platform for video editing. The video editing tools are intuitive, making the editing process not just efficient but enjoyable. For instance, the timeline is highly responsive, allowing for effortless clip manipulation.
Key functionalities include:
- Cut and Edit Modes: Switching between modes helps streamline the editing process.
- Multicam Editing: This feature allows editors to easily switch between multiple camera angles during a scene.
- Ripple and Roll Editing: Offering more control over clip placement and transitions.
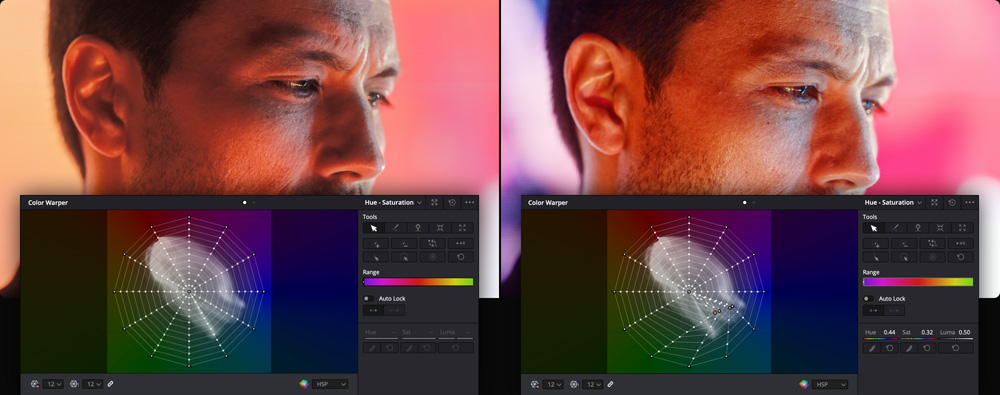
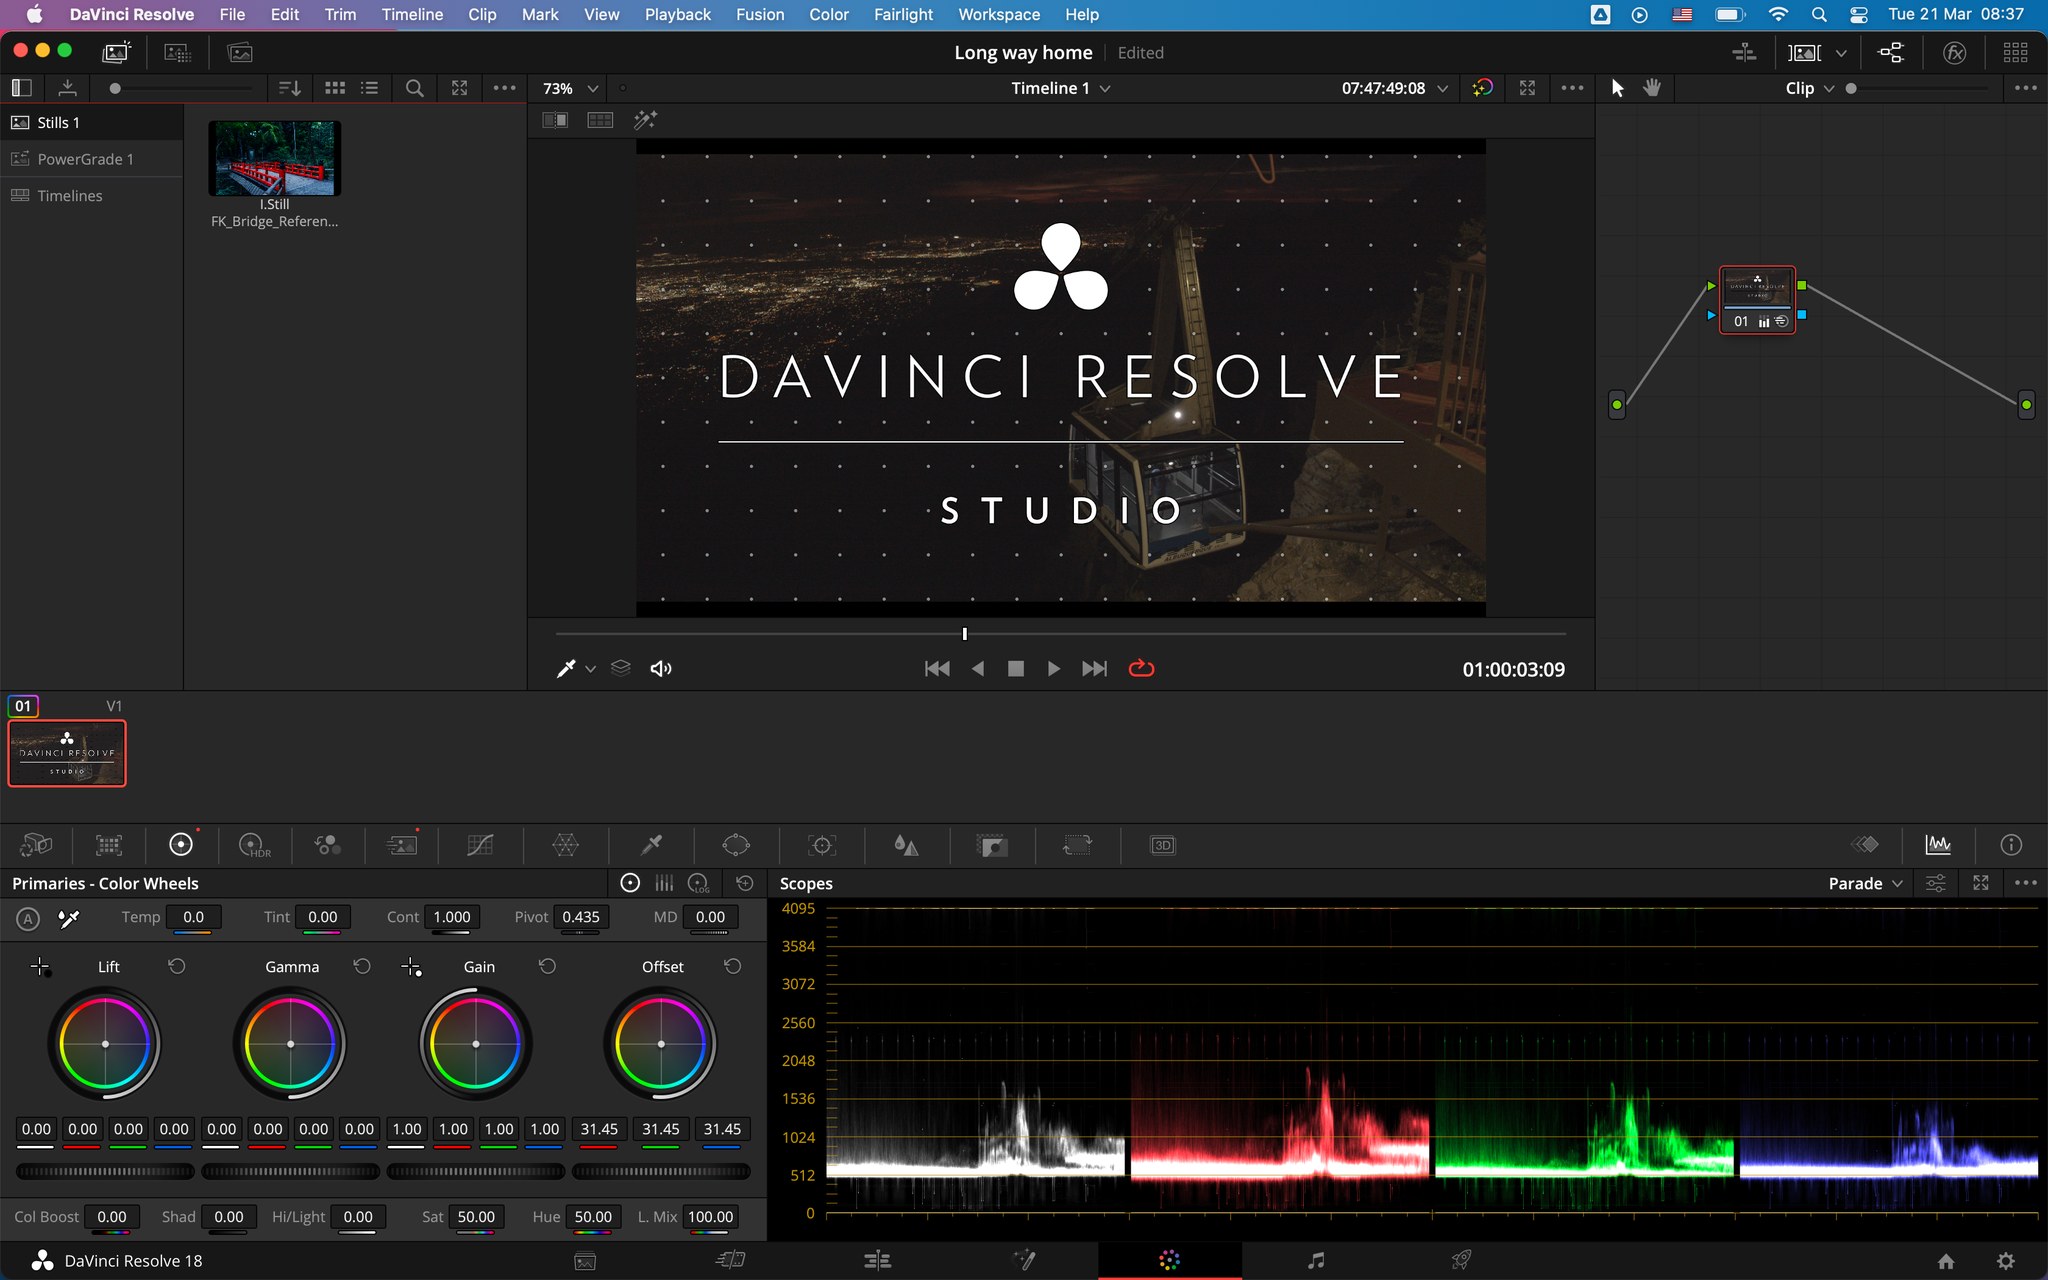
Advanced Color Correction Capabilities
As highlighted earlier, the advanced color correction features set DaVinci Resolve apart. Users can work with color wheels, curves, and LUTs to create stunning visuals that resonate with their audience. Every project I’ve worked on, from travel vlogs to cinematic shorts, has benefited significantly from these powerful tools.
Audio Editing and Post-Production Features
Beyond video, DaVinci Resolve shines in its audio editing capabilities. The integrated Fairlight audio suite offers a complete range of post-production tools, such as:
- Audio Effects: Easily apply reverb, EQ, and compression.
- ADR Tools: Simplify dialogue replacement processes.
- Multitrack Editing: Combine various audio tracks efficiently for a polished final product.
With these extensive features, DaVinci Resolve not only serves as a powerful editing platform but also a comprehensive solution for complete project workflows.
Using DaVinci Resolve for Video Editing
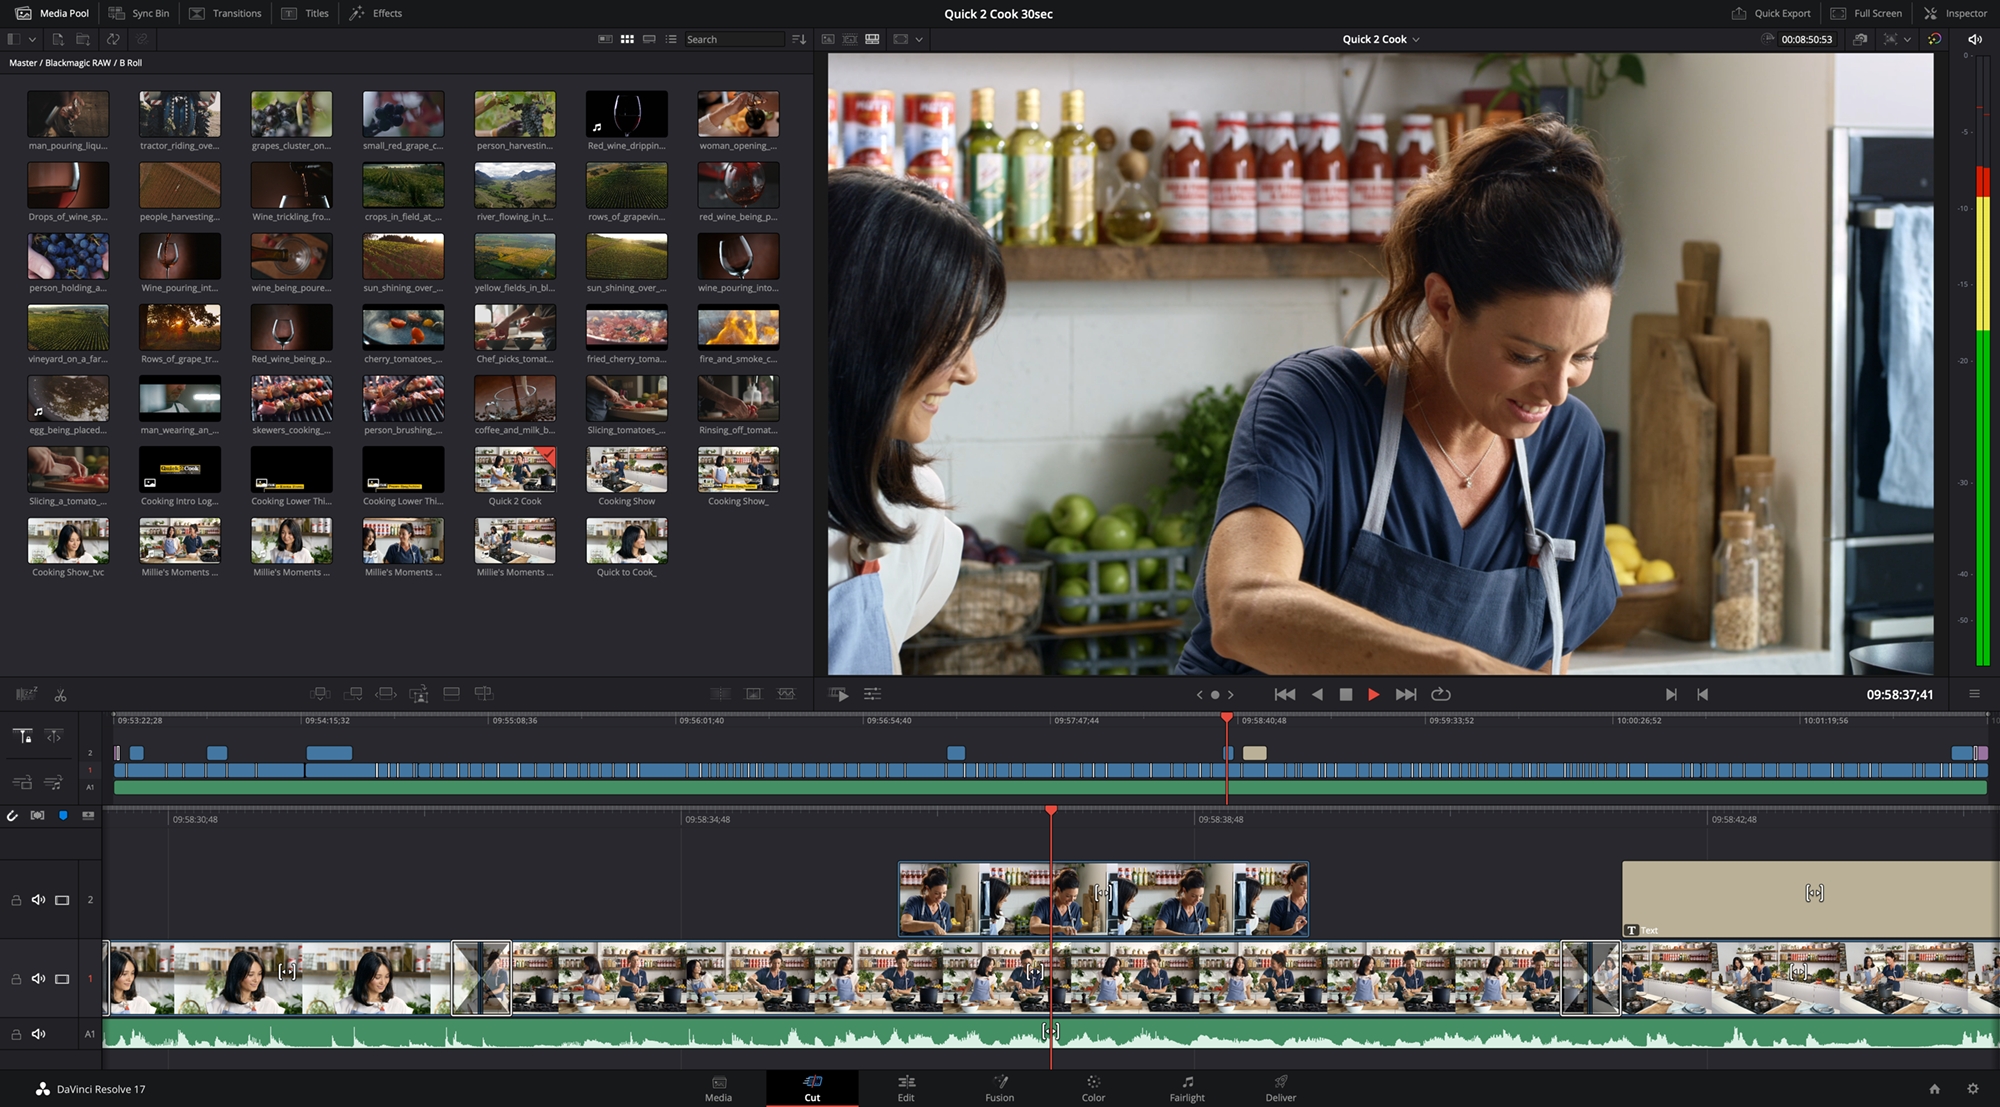
Importing and Organizing Footage
Now that we’ve explored the features of DaVinci Resolve, let’s delve into using it for video editing. The process begins with importing and organizing your footage. This step is crucial because a well-organized project saves time and energy in the long run.
When I first started using DaVinci Resolve, I quickly realized the importance of folder structures. Here’s how I do it:
- Create Bins: Organize your clips into bins based on scenes, types, or takes.
- Use Metadata: Tag clips with keywords to make searching easier.
- Preview Clips: Use the source viewer to make it simple to select the best takes.
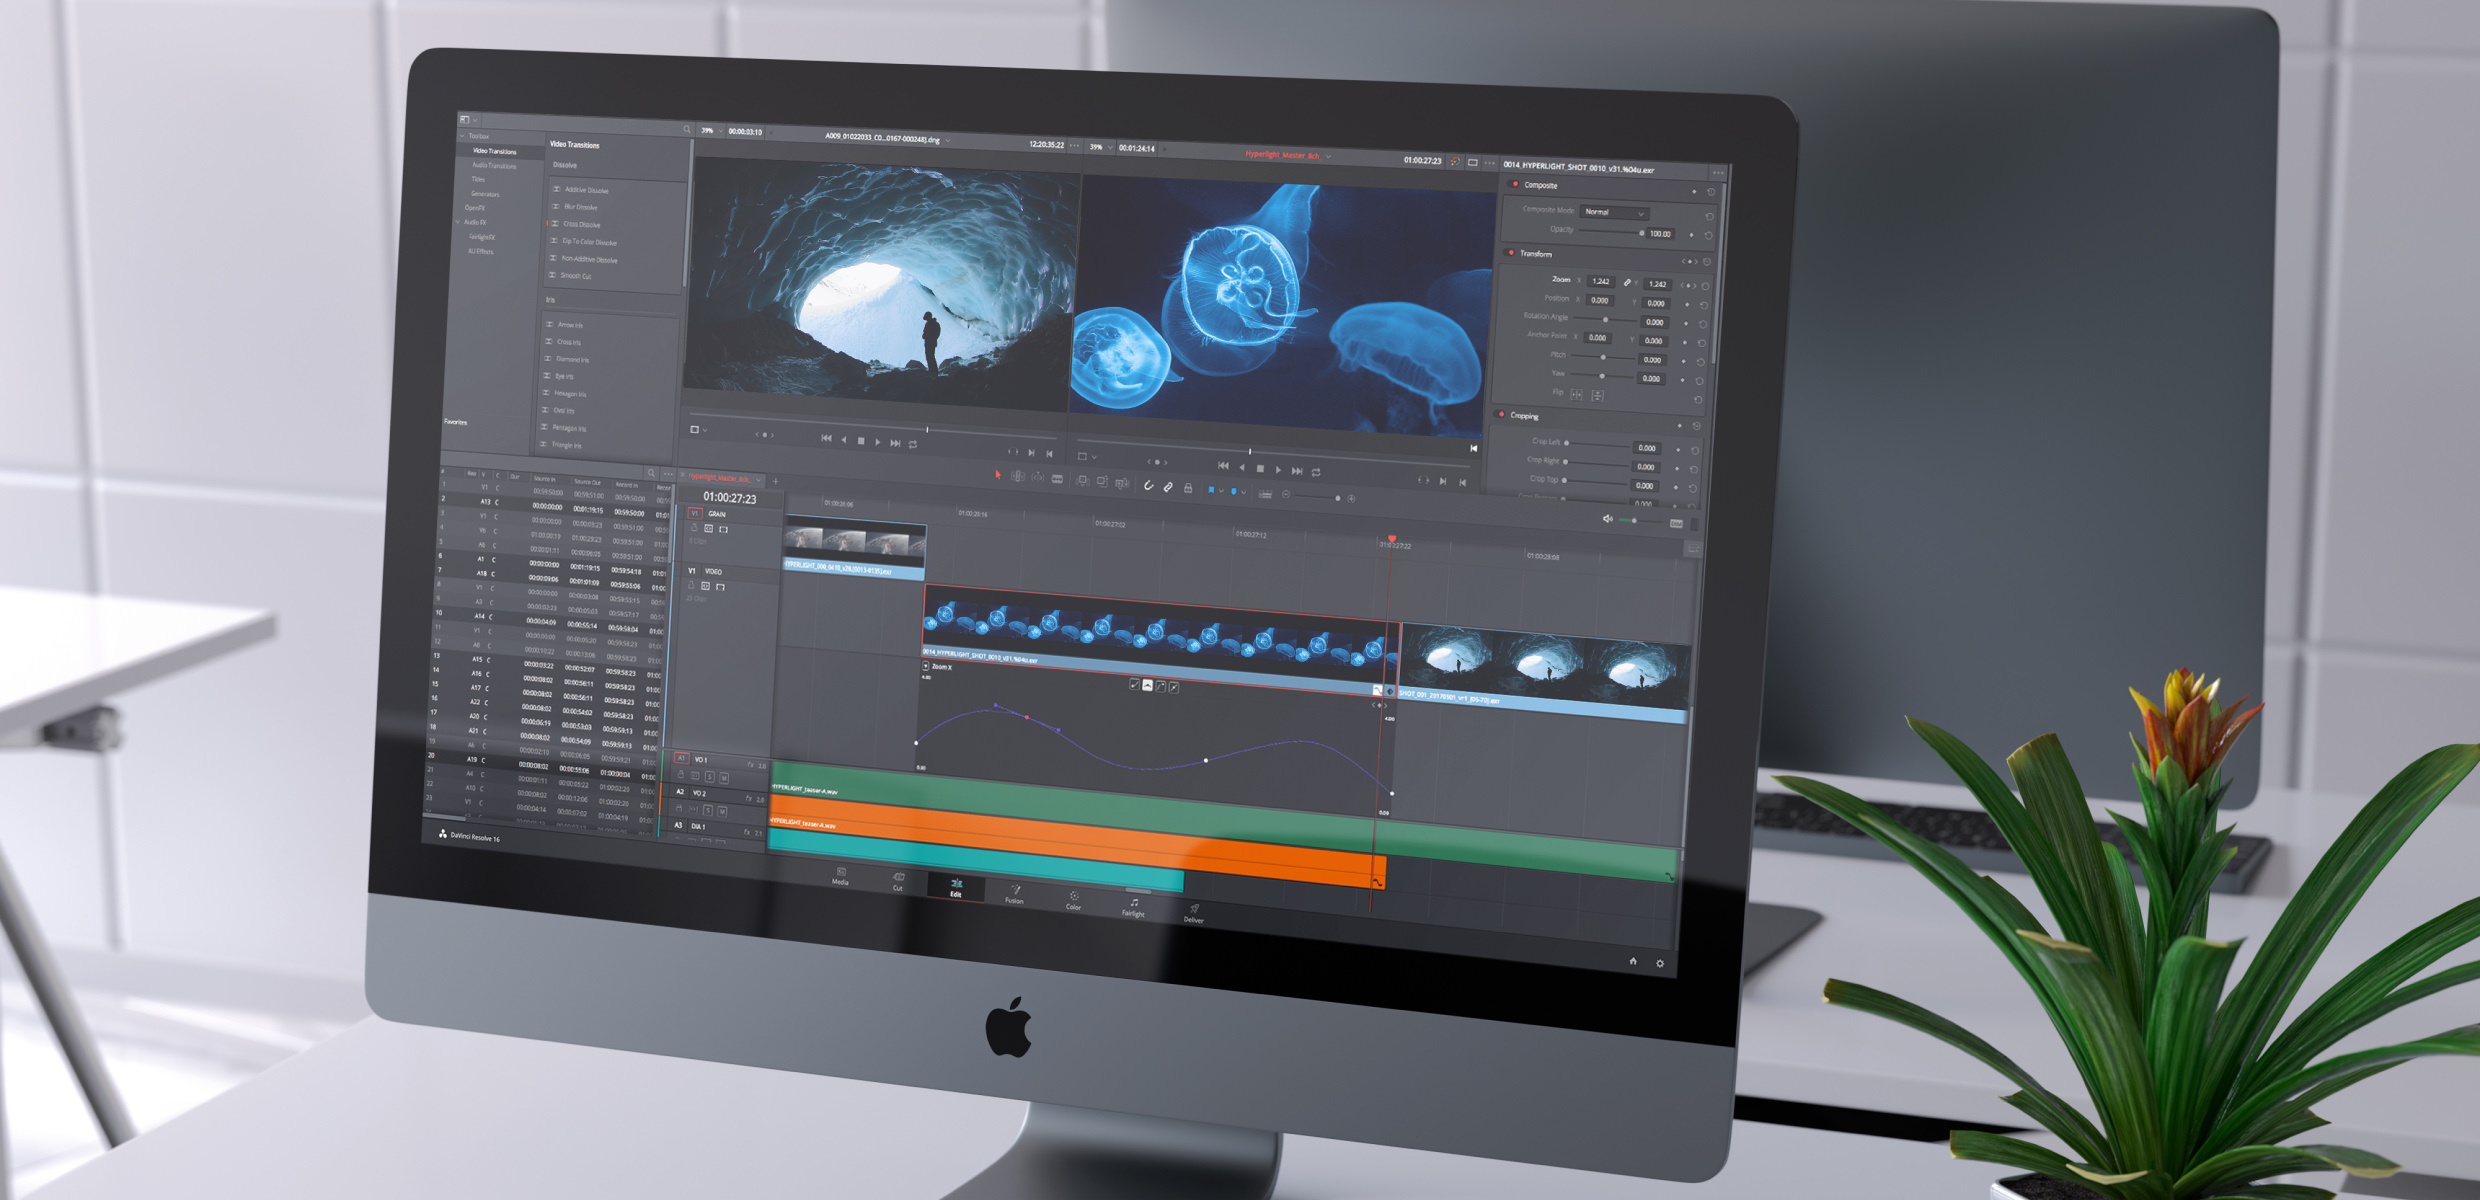
Editing Timeline and Tools
Once your footage is organized, the editing timeline is where the magic happens. DaVinci Resolve offers robust editing tools that can accommodate any workflow. You can drag and drop clips, trim them precisely, and implement transitions with ease. My favorite tool is the trim tool, which allows for real-time adjustments—an absolute game-changer during fast-paced edits.
Applying Color Correction and Grading
After the clips are arranged on the timeline, applying color correction and grading ensures your video looks stunning. With the color panel, I often start with basic corrections before diving into more complex grading.
- Adjust Exposure and Contrast: Ensure each clip matches in brightness.
- Utilize Color Wheels and Curves: Fine-tune the color balance and achieve the desired look.
- Experiment with LUTs: Test different LUTs to quickly explore creative looks.
Using these techniques not only enhances the quality of your project but also allows your creative vision to shine through, making DaVinci Resolve a preferred choice for video editing.
Advanced Color Correction Techniques
Understanding Color Theory and Correction
As we dive deeper into the realm of DaVinci Resolve, advanced color correction techniques truly unlock creative possibilities. A solid understanding of color theory is fundamental to achieving desired looks. Personally, I’ve found that knowing the color wheel—complementary colors, harmonies, and contrasts—can significantly enhance visual storytelling.
- Complementary Colors: Use opposite colors on the wheel to create impactful visuals.
- Warm and Cool Tones: Balance scenes with appropriate tones for emotional depth.
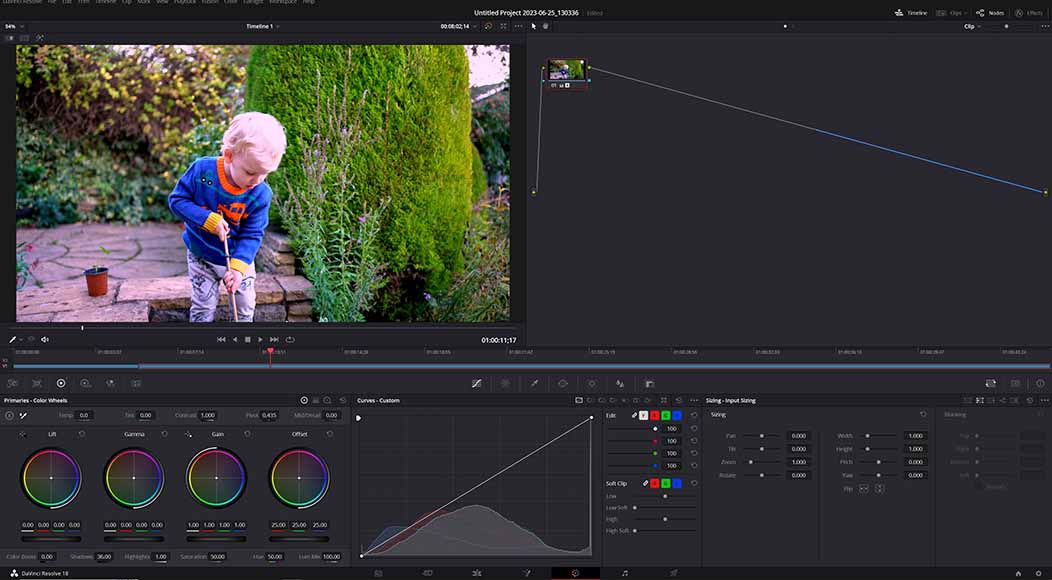
Using Nodes for Advanced Color Grading
One of the most powerful features of DaVinci Resolve is its node-based workflow. Unlike layers, nodes allow for non-linear adjustments, making it easier to manage complex color grading. For example, I often create a serial node for primary corrections and additional nodes for secondary adjustments—like isolating skin tones or backgrounds.
- Serial Nodes: Apply a series of adjustments sequentially.
- Parallel Nodes: Simultaneously adjust different elements without affecting one another.
Keyframe Animation for Color Effects
Finally, to add dynamic color effects, keyframe animation is the way to go. This technique allows specific color adjustments to change over time, enhancing the storytelling aspect of your video.
- Create Transitions: Gradually change colors from one scene to another.
- Enhance Motion Graphics: Bring elements to life with shifting hues.
Incorporating these advanced techniques not only elevates the aesthetics of your project but also enriches viewer engagement, turning your vision into an immersive experience.
Exporting and Sharing Projects
Export Settings and Formats
After perfecting your project in DaVinci Resolve, the next crucial step is exporting it effectively. Understanding export settings and formats is key to ensuring the highest quality and compatibility for your audience. Personally, I’ve seen how the right settings can make a difference in how videos are perceived on different platforms.
- Common Formats: MP4 is great for online sharing, while ProRes or DNxHD is ideal for professional use.
- Resolution Settings: Choose 1080p for web content, or 4K for broadcast and cinematic releases.
- Bitrate Adjustments: Higher bitrates provide better quality but larger file sizes.
Using these settings wisely can enhance your project’s visual appeal while ensuring that it meets playback requirements across various platforms.
Collaborative Workflows and Sharing Options
Collaboration has become essential in video production, and DaVinci Resolve accommodates this beautifully. With features designed for teamwork, multiple users can work on different aspects of a project simultaneously.
- Shared Projects: Save time by allowing team members to edit, color grade, or add audio at once.
- Cloud-Based Collaboration: Utilize DaVinci Resolve Studio for shared access and real-time updates.
- Export for Review: Easily generate quick exports for client reviews or team feedback.
These collaborative options not only enhance productivity but also streamline communication, ensuring that everyone stays aligned with the project vision. With DaVinci Resolve, exporting and collaborating become straightforward, allowing you to focus on creating stunning content.
DaVinci Resolve Studio vs. Free Version
Feature Comparison Between Studio and Free Version
As you navigate the world of DaVinci Resolve, you might wonder about the differences between the free version and DaVinci Resolve Studio. While both versions are powerful editing tools, they cater to different needs and user levels.
Here’s a quick feature comparison:
| Feature | Free Version | DaVinci Resolve Studio |
|---|---|---|
| Color Grading Tools | Yes | Enhanced |
| Resolve FX Effects | Limited | Full Library |
| 4K and higher resolution export | Limited to 1080p | Yes |
| Collaboration Features | No | Yes |
| Support for Third-Party Plugins | No | Yes |
Benefits of Upgrading to DaVinci Resolve Studio
Upgrading to DaVinci Resolve Studio opens up a world of professional-grade capabilities. From my own experience, the additional features have transformed my projects from good to great.
- Full FX Suite: Access to an extensive range of effects enhances creativity.
- Improved Performance: Studio takes advantage of hardware acceleration, speeding up rendering times.
- Higher Resolution Exports: Perfect for those aiming for 4K quality and beyond.
Overall, while the free version is impressive, DaVinci Resolve Studio is ideal for serious creators seeking to elevate their work to a professional level. Investing in Studio not only enhances your toolkit but also enriches your editing experience.

Troubleshooting and Tips
Common Issues and How to Resolve Them
Navigating video editing software like DaVinci Resolve can occasionally lead to some hiccups. Based on my own experiences, here are a few common issues and practical solutions to address them:
- Playback Issues: If playback is choppy, try using optimized media or proxy files to ease the strain on your system.
- Rendering Errors: A common mistake is mismatched settings. Ensure your export settings align with your timeline settings.
- Crashes: If DaVinci Resolve crashes frequently, consider updating your graphics drivers or checking system resources to avoid overload.
Tips for Optimizing Workflow and Efficiency
To streamline your editing process, efficiency is key. Over the years, I’ve picked up a few tricks that have significantly improved my workflow:
- Keyboard Shortcuts: Learn and customize shortcuts to speed up common tasks.
- Organize Clips Early: Create bins and label footage when importing to avoid chaos later on.
- Use the Color Page Effectively: Spend time mastering the color page early on to decrease grading time during edits.
Incorporating these troubleshooting tips and efficiency strategies will not only save time but also enhance the overall editing experience in DaVinci Resolve. Embracing these practices can elevate your projects, allowing your creativity to shine without technical interruptions.
