
Overview of Camtasia Software
Introduction to Camtasia
Camtasia is a powerful screen recording and video editing software that caters to both beginners and seasoned professionals. It allows users to create stunning videos with ease, whether for educational purposes, marketing, or internal training sessions. As a long-time user of Camtasia, the author can attest to its user-friendly interface and robust features that make video creation not just efficient, but also enjoyable.
Features and capabilities
- Screen Recording: Capture your screen in high definition.
- Video Editing: Easily trim, cut, and rearrange clips with intuitive tools.
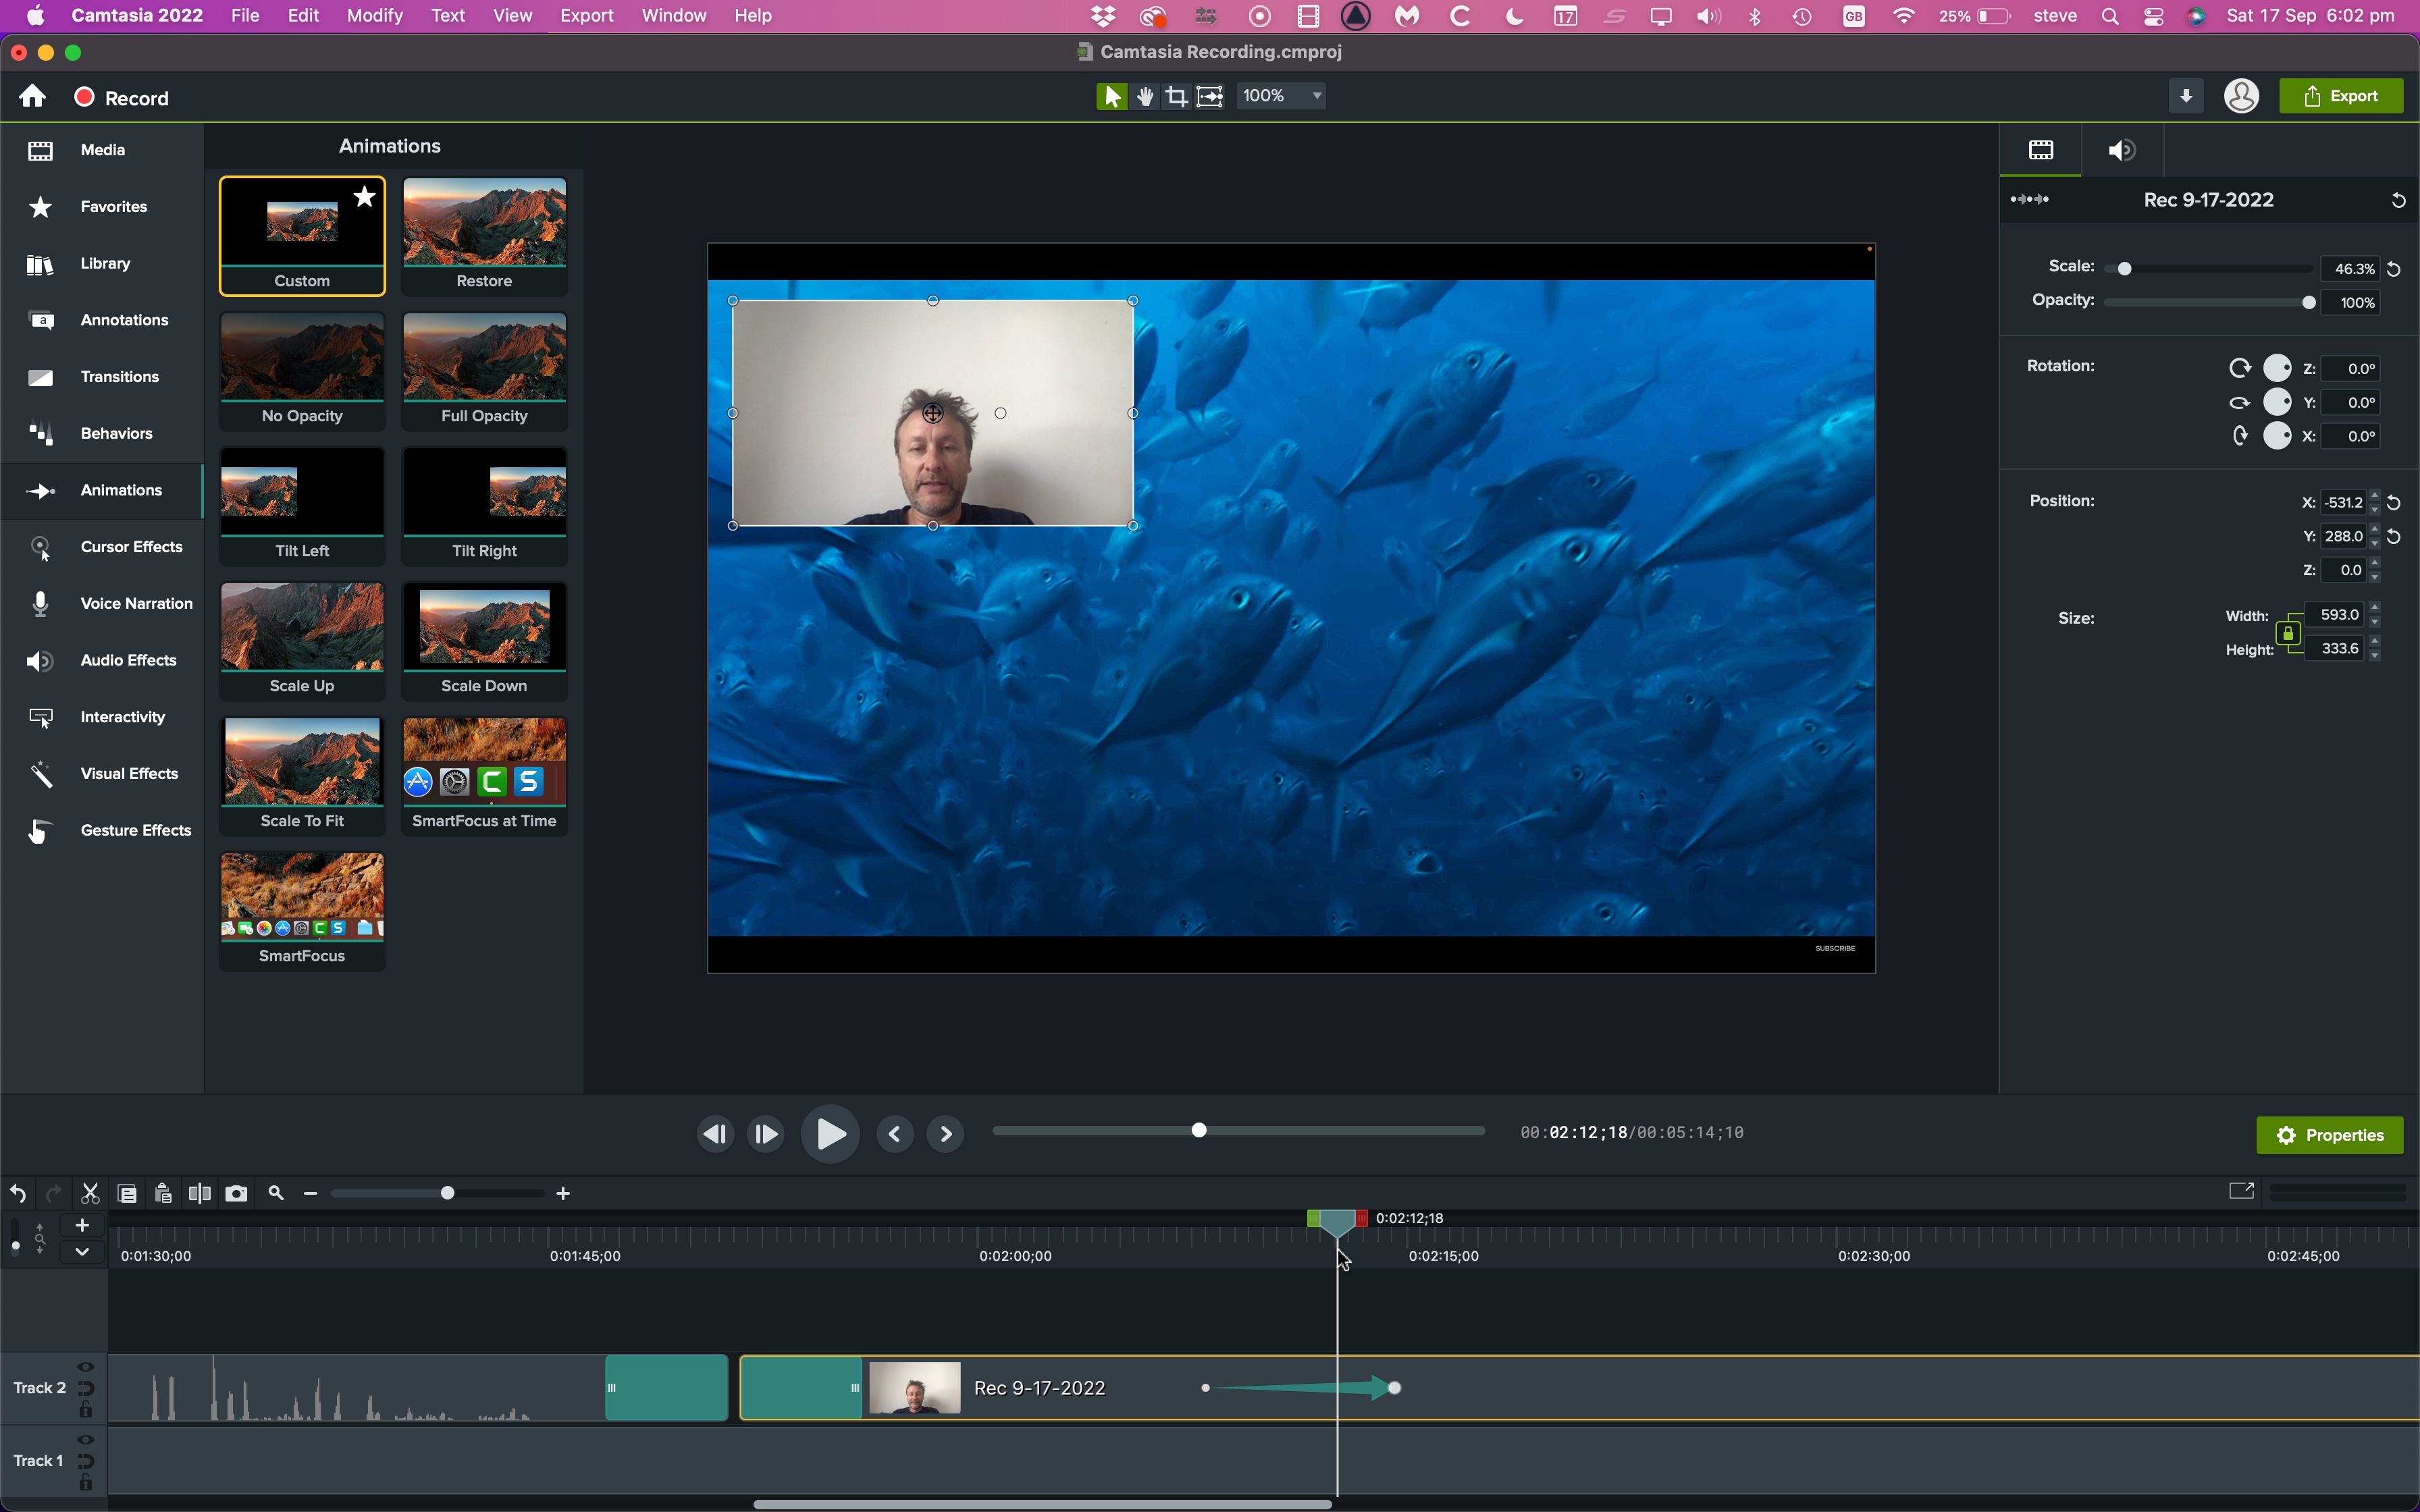
- Animations: Use motion graphics to enhance storytelling.
- Interactivity: Engage viewers with quizzes and clickable links.
Pricing and subscription options
Camtasia offers a straightforward pricing model with options for individuals, businesses, and educational institutions. Customers can choose from a one-time purchase or a subscription plan, catering to varied needs and budgets. With occasional discounts, it provides great value for anyone looking to elevate their video content.

Getting Started with Camtasia
System requirements
Before diving into the exciting world of video creation with Camtasia, it’s vital to ensure your system meets the necessary requirements. Generally, you’ll need:
- Windows: Windows 10 or higher
- Mac: macOS 10.13 or higher
- RAM: At least 4 GB (8 GB recommended)
- Storage: Sufficient space for installation (minimum 2 GB)
Downloading and installing the software
Downloading Camtasia is a breeze! Simply visit their official website, select your version, and follow the prompts. The installation process is quick, allowing users to jump right into video projects.
Setting up preferences and workspace
Once installed, take a moment to set up your preferences. Personalize your workspace by arranging panels to suit your workflow. This customization helps streamline the editing process, making video creation smoother and more enjoyable. Experiment with settings like keyboard shortcuts—this will save valuable time and make your editing sessions feel more efficient!
Screen Recording with Camtasia
Recording screen activity
Once you’ve set up your workspace, it’s time to dive into screen recording—a standout feature of Camtasia that allows users to capture everything happening on their screen. Whether creating tutorials or recording live presentations, the process is straightforward. Simply hit the record button, and Camtasia will start capturing your actions seamlessly.
Selecting recording area and settings
Customizing your recording area is crucial for a polished final product. You have the option to choose:
- Full Screen: Perfect for presentations or gameplay.
- Custom Area: Ideal for tutorials focusing on a specific application.
Adjust settings such as frame rate and recording quality to match your project’s needs.
Utilizing audio and webcam recording
Want to enhance your recordings? Consider adding audio and webcam footage. Camtasia lets you record system audio and microphone input simultaneously, perfect for voiceovers or commentary. Enabling webcam recording can help personalize your videos—just like how I often add myself to tutorials to create a more engaging experience for viewers. It truly makes a difference!
Video Editing in Camtasia
Importing media files
Now that you’ve captured your screen recordings, it’s time to get creative with video editing in Camtasia! The first step is importing your media files. You can easily drag and drop videos, images, or audio files directly into Camtasia’s media bin. This feature makes it a cinch to organize your assets, especially if your project has multiple components.
Editing timeline tools and functions
Once your files are imported, the timeline comes into play. Camtasia’s timeline tools are user-friendly, allowing you to:
- Trim clips: Cut out unnecessary parts to keep your video concise.
- Split clips: Divide recordings to rearrange content effectively.
- Layer tracks: Organize audio and video files for seamless transitions.
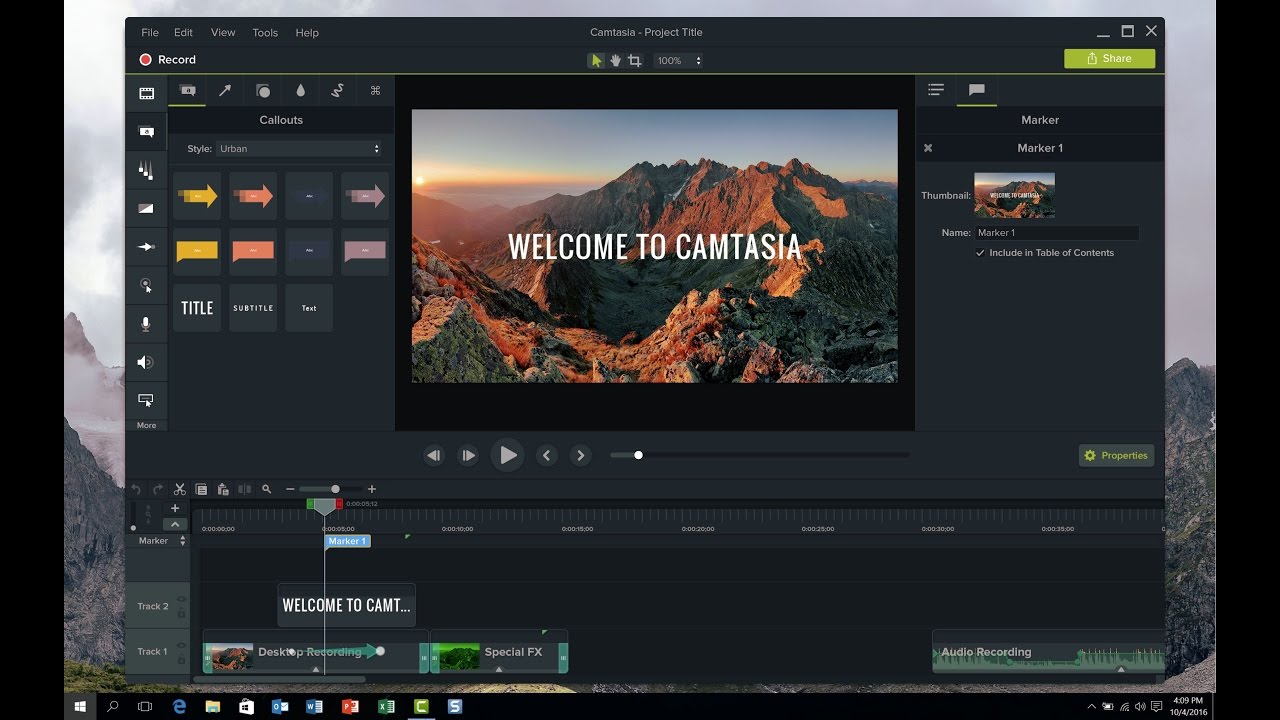
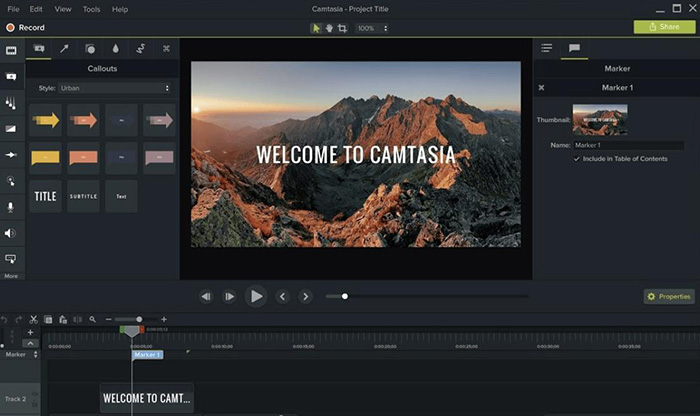
Adding annotations, effects, and animations
To make your video pop, start adding annotations, effects, and animations! From text callouts to arrows guiding your audience, these features enhance engagement. For instance, I often use zoom animations to emphasize key points in my tutorials, allowing viewers to focus on the important details. It’s like giving your video a professional touch while maintaining a personal feel!
Enhancing Videos with Camtasia
Using transitions and behaviors
With your video edited, it’s time to elevate it further by incorporating transitions and behaviors! Transitions smooth out cuts between clips, making for a more professional look. Camtasia offers various options, from simple fades to dynamic wipes. Personally, I love using the “Fade” transition to create a seamless flow between different segments of my tutorials.
Audio editing and enhancement
Next, let’s focus on audio. Good audio quality can make or break your video. Camtasia has built-in audio tools that allow you to enhance sound clips easily. Features like noise removal and volume leveling help ensure clarity. I often use these tools to refine my voiceovers, ensuring every detail resonates with viewers.
Applying visual effects and interactivity
Lastly, add some sparkle with visual effects and interactive elements! You can apply highlights and drop shadows to text for better readability. Even better, Camtasia allows you to insert interactive quizzes and buttons—ideal for keeping your audience engaged. For example, I’ve found that including quizzes at the end of my videos boosts viewer retention, making learning fun and effective!

Exporting and Sharing Projects
Saving and exporting projects
Once you’ve finished enhancing your video in Camtasia, it’s time to save and export your masterpiece! Camtasia makes this process straightforward. You can save your project to continue editing later, ensuring no progress is lost. When you export, you’ll choose options that suit your needs best, whether for web, mobile, or high-definition use.
Customizing output settings
Customization of output settings is key to optimizing your video. Camtasia allows you to specify resolution and file format to suit your audience. For example, I often opt for MP4 format for its compatibility across devices and platforms. Adjusting the bitrate can also help balance video quality and file size, ensuring smooth playback without unnecessary buffering.
Sharing videos on various platforms
Finally, sharing your videos is a breeze! Camtasia offers direct upload options to platforms like YouTube, Vimeo, and even Google Drive. For a personal touch, I often share my content directly on social media channels, allowing friends and followers to engage easily. This seamless sharing process ensures your hard work reaches your intended audience without fuss!
Advanced Features and Tips
Green screen effects
Now that you’ve mastered the basics, let’s explore some advanced features in Camtasia that can elevate your videos even further! One of my favorites is the green screen effect, also known as chroma key. This tool allows you to replace the green background with any image or video, perfect for creating dynamic talking-head videos. I often use this feature for tutorial videos, making my content visually engaging.
Interactive quizzes and hotspots
Next up, interactive quizzes and hotspots! Adding quizzes at strategic points in your videos not only tests your audience’s understanding but also keeps them engaged. Using hotspots lets viewers click for more information, turning a passive viewing experience into an interactive one. I’ve noticed substantial viewer retention when utilizing these tools effectively!
Keyboard shortcuts and time-saving tips
Finally, don’t overlook keyboard shortcuts and other time-saving tips that can streamline your editing process. Familiarizing yourself with shortcuts for common actions—like splitting or deleting clips—can significantly speed up your workflow. Setting up templates for frequently used graphics also saves a great deal of time, letting you focus more on creativity than repeated tasks!
